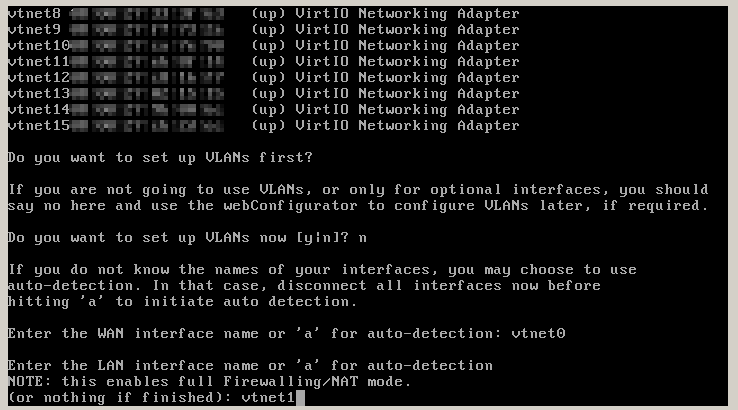
In the previous step of this tutorial we set up the pfSense VM in virtualbox, let’s now start it up and actually install pfSense. Allow the boot to continue until you get to the VLAN prompt we do not need to set up VLANs for our usage, so press ‘n’ and continue,
![from now on unless specified these will be text-mode console pfSense screens, this is the beginning of the first boot, the prompt mentioned is 'Do you want to set up VLANs now [y|n]'](/images/vbox13.png)
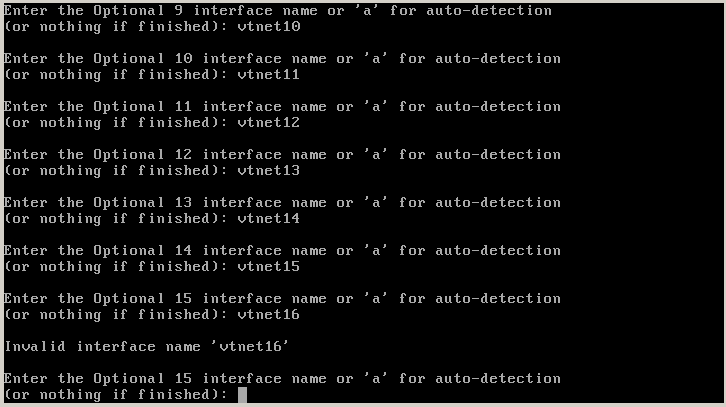
then you just have to enter all the NICs we have until there are no more and press enter with an empty line
you will now get a recap screen with the assignments that were specified
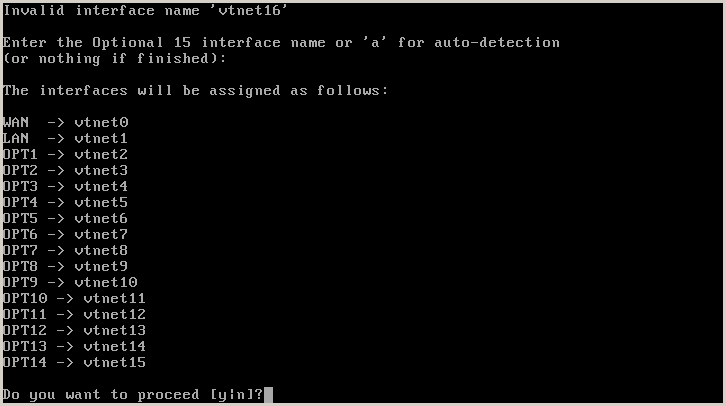
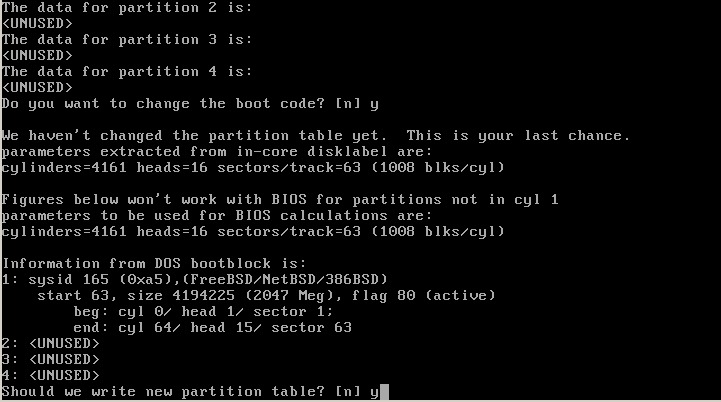
which can be accepted by pressing ‘y’, afterwards we can move to the actual HD installation
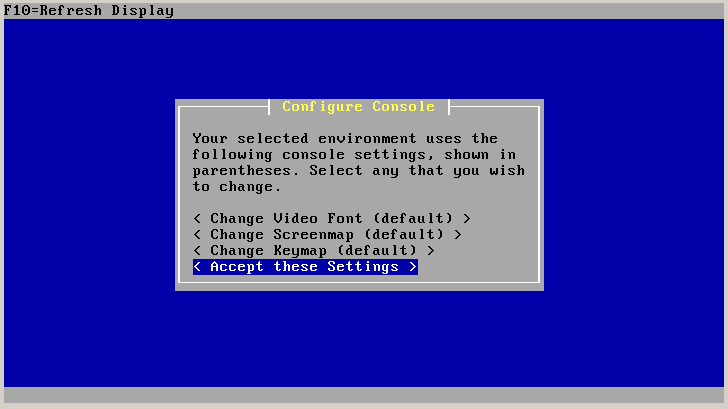
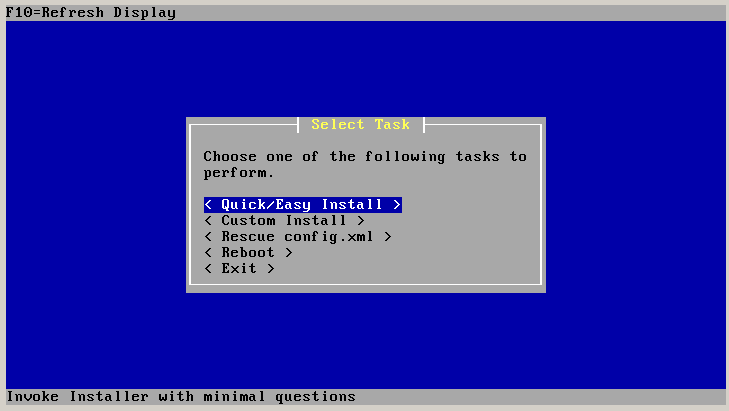
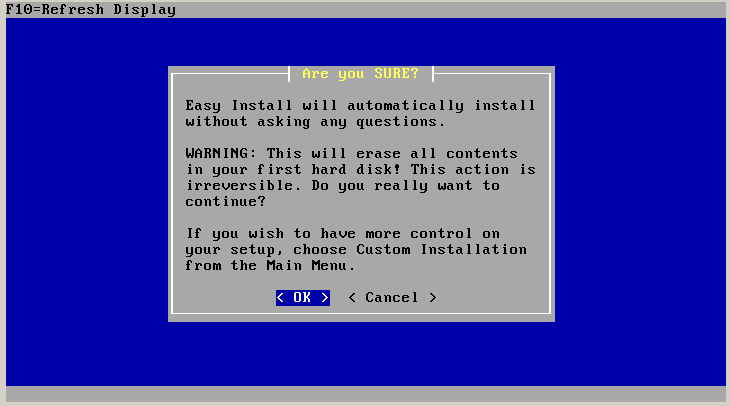
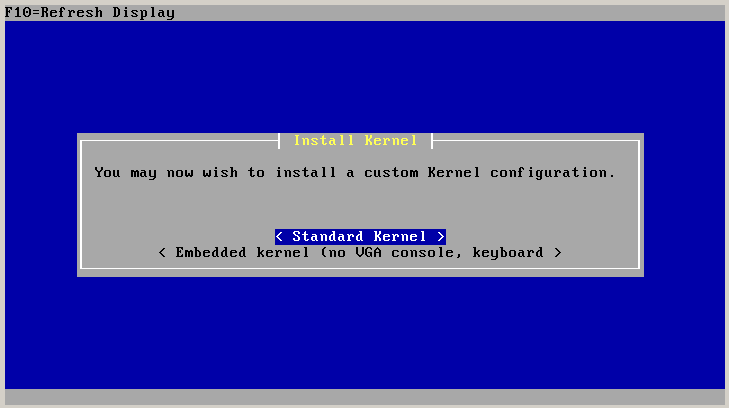
Note depending on the memory and disk size you pick you might get a warning that your swap partition is not big enough to contain the memory in case of a crash, up to you if you want to customize the partition layout or ignore the warning.
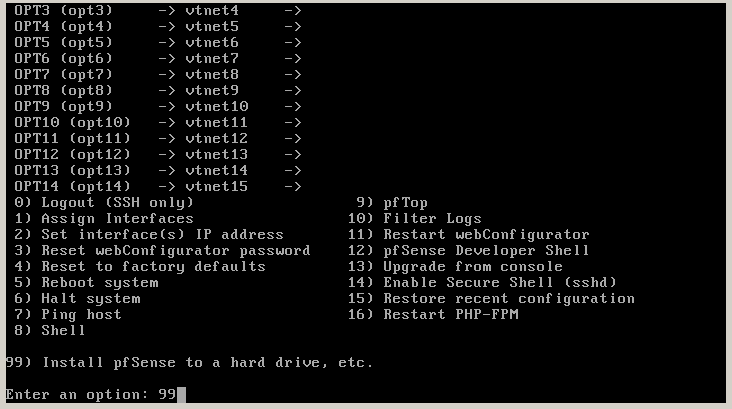
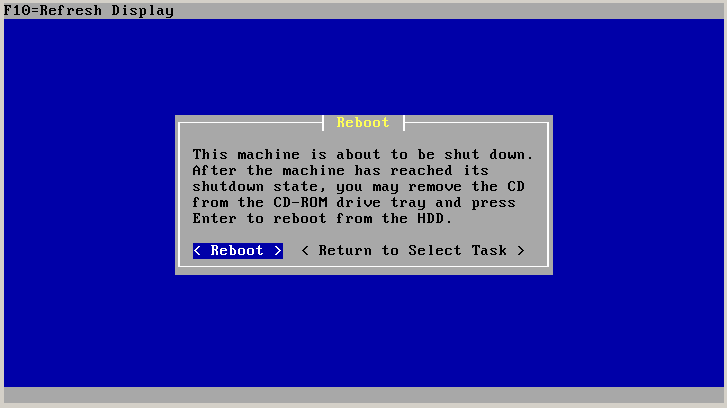
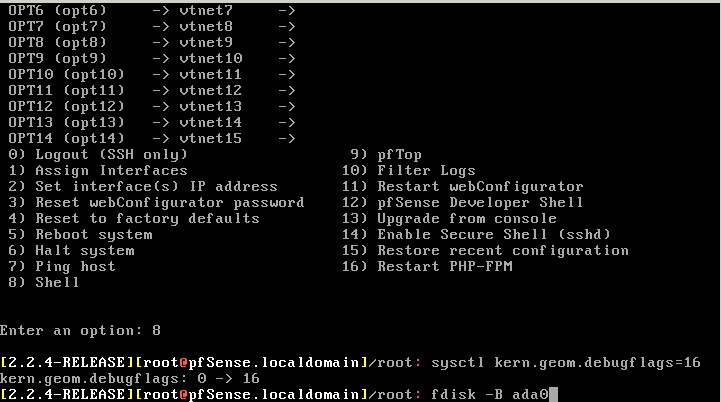
You can now reboot (don’t forget to take the CD image out of the virtual drive) and you will be at the pfSense prompt. At this point I usually remove the ‘F1 boot prompt’ to speed up the boot process, to do this follow the steps listed in the official pfSense documentation here 1 which will be the following screens
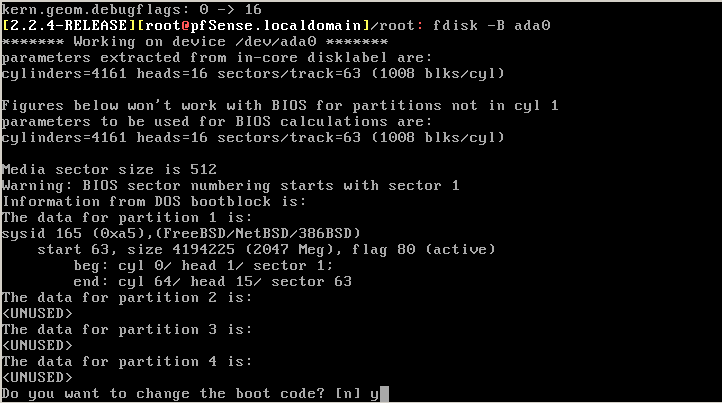
and reboot the VM. pfSense is now installed, but before we can configure it via the GUI we have to set up the IP address of the LAN interface, the one that is connected to our TUN device. At the boot select option 2, set interfaces IP address
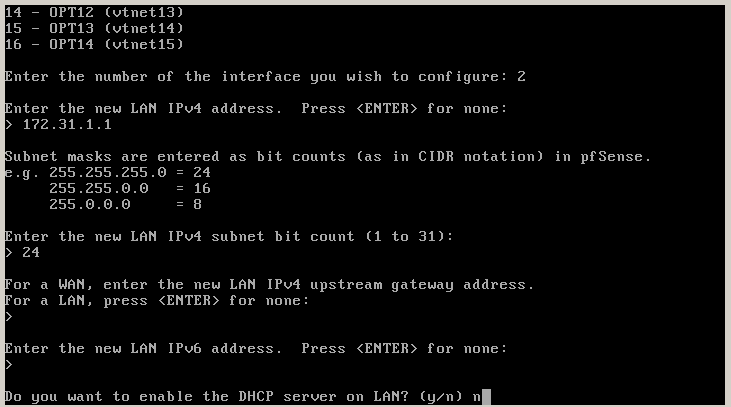
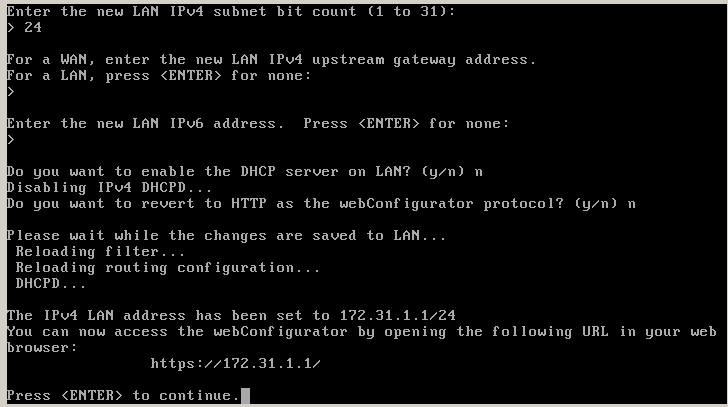
we do not configure dhcp on our LAN interface as we’ll only ever have our Dom0 connecting there, where we have already set up 172.31.1.2 as the static ip address in the systemd unit section in the previous configuration step.
After setting up the IP address, we can now continue the configuration via the provided GUI. in the next part of this tutorial.
- Initial release - 2016-01-01