
In the previous step of this tutorial we finished setting up the pfSense VM, from now on we can continue its configuration it via the pfSense web interface, if you need to access again the console you can either start the pfSense VM manually from VirtualBox (as opposed to running it headless via the systemd unit), or, much more easily, set up ssh access as described later in this guide.
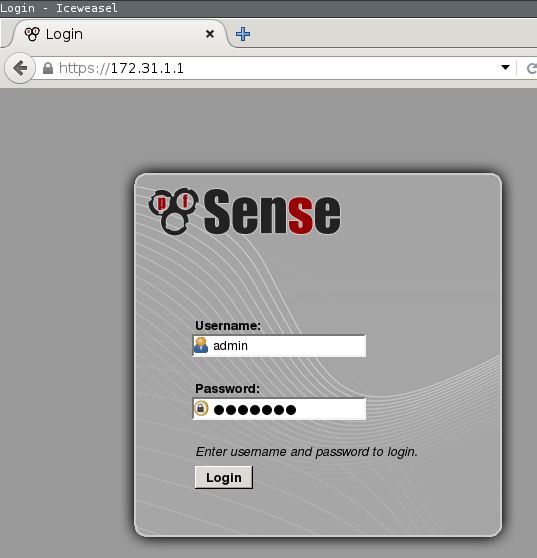
Let’s then use iceweasel and connect to 172.31.1.1 over https and log in to the pfSense interface with admin / pfSense.


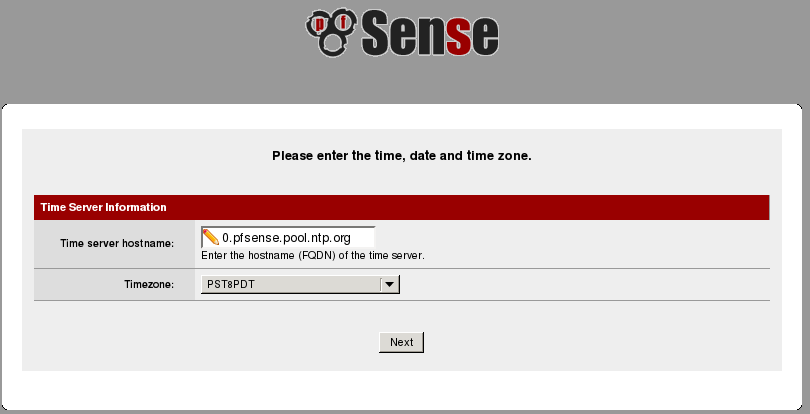
the hostname, domain name and upstream DNS servers will very likely be different in your configuration. The WAN configuration page is left with its default values, which are DHCP and no static address
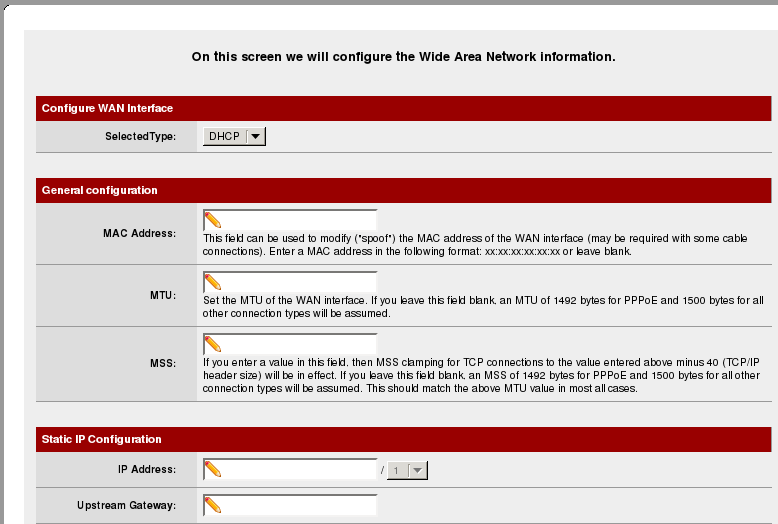
but feel free to change it if needed. The next screen displays the LAN configuration, which has already been set up via the text console earlier.
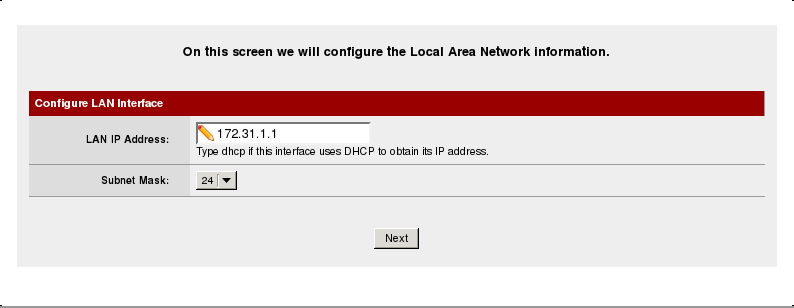
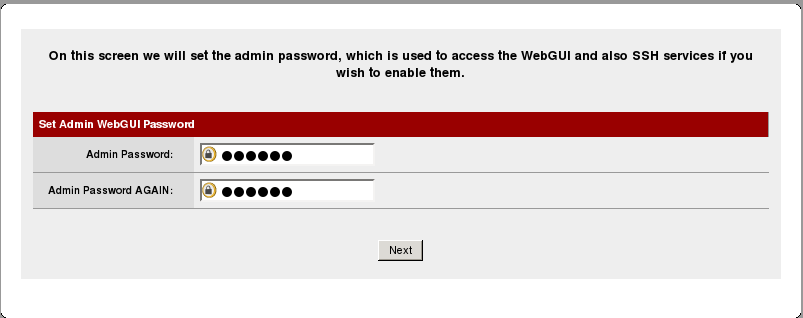
choose a new admin password for your pfSense installation if needed and reload the configuration. We are now done with the basic configuration and after pfSense reloads you should be able to access the internet once again.

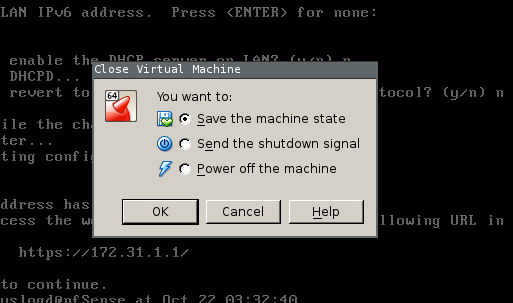
You should now first of all close your VM pfSense virtual machine saving state from the virtualbox GUI, so it can be started quickly from systemd
then enable the unit we created before so it will always be started on boot. After this actually start it and verify it’s working by pinging a random host, note the name after the @ symbol has to be the exact name of your VM, so if you called it pfSense use @pfSense.service here.
at this point you should be able to access the internet just like you were before you installed pfSense, however that will soon change in the next part of this tutorial where we will set up the firewall rules and networks.
Before you continue with the configuration steps, you should try rebooting to make sure the networking starts correctly, you should be able to verify looking at your journalctl that on shutdown the VM gets saved, and restored on startup.
Note that in my environment if I manually stop the pfSense systemd unit via systemctl stop pfSense.service any other running VirtualBox VMs will also be terminated: I have yet to figure out why this is the case, however it should be extremely rare for you to have to stop pfSense (for me usually done only when installing new interfaces via vboxmanage, given that the currently available Debian VirtualBox version still has the bug that does not allow vboxmanage to do so unles the VM is stopped) and in that case making sure all VMs are stopped beforehand is not that big of a deal.
- Initial release - 2016-01-01
- New highlighting for commands - 2017-12-03